Welcome to the Honeywell TH6220U2000 installation manual, your comprehensive guide for installing and configuring this advanced programmable thermostat. This manual ensures safe, proper, and efficient setup, covering compatibility checks, wiring, and system customization to optimize performance and energy savings.
Overview of the Honeywell TH6220U2000 Thermostat
The Honeywell TH6220U2000 is a programmable thermostat designed for precise temperature control and energy efficiency. It features a user-friendly interface with advanced settings like scheduling and Auto Changeover Differential; Compatible with various HVAC systems, this thermostat ensures seamless integration and optimal performance. Its programmable functionality allows users to customize temperature settings, reducing energy consumption while maintaining comfort. With its sleek design and intuitive controls, the TH6220U2000 is ideal for homeowners seeking a reliable and modern climate control solution.
Importance of Following the Installation Manual
Adhering to the TH6220U2000 installation manual is crucial for ensuring a safe, correct, and efficient setup. Proper installation prevents potential damage to the thermostat or HVAC system and avoids hazardous conditions. The manual provides step-by-step guidance to optimize performance, energy savings, and system compatibility. Failure to follow instructions may result in malfunctions or safety risks. Even experienced installers should refer to the manual to ensure compliance with manufacturer specifications and achieve the best results. This guide is essential for a trouble-free and efficient installation process.
System Requirements and Compatibility
The TH6220U2000 requires checking HVAC system compatibility, understanding advanced features, and verifying system ratings to ensure safe and optimal performance. Proper setup prevents damage and hazards.
Checking Compatibility with Your HVAC System
Before installing the TH6220U2000, ensure compatibility with your HVAC system. Verify voltage, wiring configuration, and system type (heating, cooling, or heat pump). Check ratings in the manual to confirm suitability. Proper compatibility ensures safe operation and prevents potential hazards. Misalignment can lead to system malfunctions or damage. Refer to the installation guide for specific requirements and steps to validate compatibility, ensuring optimal performance and energy efficiency for your setup.
Understanding the Thermostat’s Advanced Features
The Honeywell TH6220U2000 offers advanced features like programmable scheduling, smart temperature control, and energy-saving modes. It supports auto changeover, allowing seamless switching between heating and cooling. The thermostat also includes adjustable differential settings, ensuring efficient system operation. These features enhance comfort and energy efficiency, making it suitable for various HVAC systems. Refer to the installation guide for detailed instructions on configuring these settings to optimize performance and customize your home’s climate control experience. Proper setup ensures all features function as intended, providing long-term reliability and satisfaction.
Pre-Installation Steps
Before installing the Honeywell TH6220U2000, ensure compatibility with your HVAC system. Unpack and verify all components, and prepare the installation site by leveling and marking wall positions for accurate mounting and wiring connections to ensure a smooth setup process.
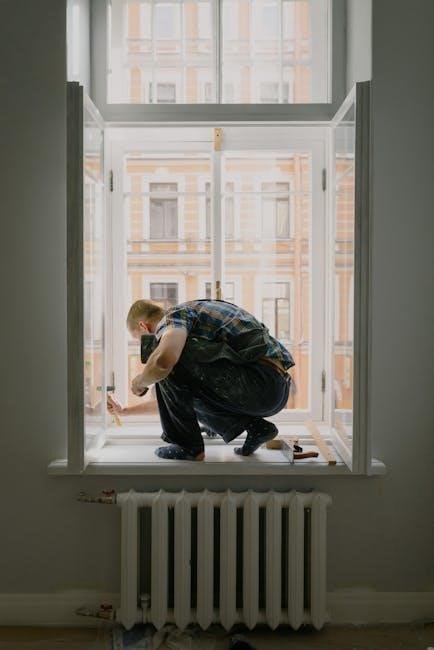
Preparing the Site for Installation
Begin by ensuring the installation area is clean and clear of obstructions. Verify all components, including the thermostat, mounting plate, and wires, are included and undamaged. Turn off power to your HVAC system at the circuit breaker before starting. Locate the ideal position for the thermostat, ensuring it is away from direct sunlight or drafts. Use a level to mark the wall for precise mounting plate alignment. Drill pilot holes if necessary, and ensure all tools and materials are within easy reach. This preparation ensures a smooth and efficient installation process.
Unpacking and Inventory of Components
Begin by carefully unpacking the Honeywell TH6220U2000 thermostat package. Verify all components are included: the thermostat unit, mounting plate, cover plate, screws, wiring labels, and installation manual. Inspect each item for damage or defects. Use the manual’s inventory list to cross-check and ensure no parts are missing. Organize the components on a clean, flat surface. Familiarize yourself with each part’s purpose, such as the mounting plate for wall installation and the cover plate for a finished appearance. This step ensures you are fully prepared for a smooth installation process.
Installation Process
The installation process ensures safe and efficient setup of your Honeywell TH6220U2000 thermostat. Follow the manual’s guidelines for proper wiring, mounting, and system connections to guarantee optimal performance.
Wiring and Electrical Connections
Proper wiring is crucial for the Honeywell TH6220U2000 thermostat’s functionality. Ensure the power is off before starting. Loosen screw terminals on the thermostat and carefully insert the wires, matching the labels from your HVAC system. Tighten the terminals securely to avoid loose connections. Refer to the manual for specific wire color codes and their corresponding functions. Double-check all connections to prevent errors. If unsure, consult a licensed electrician or the installation guide for detailed instructions. Proper wiring ensures safe and efficient operation of your thermostat.
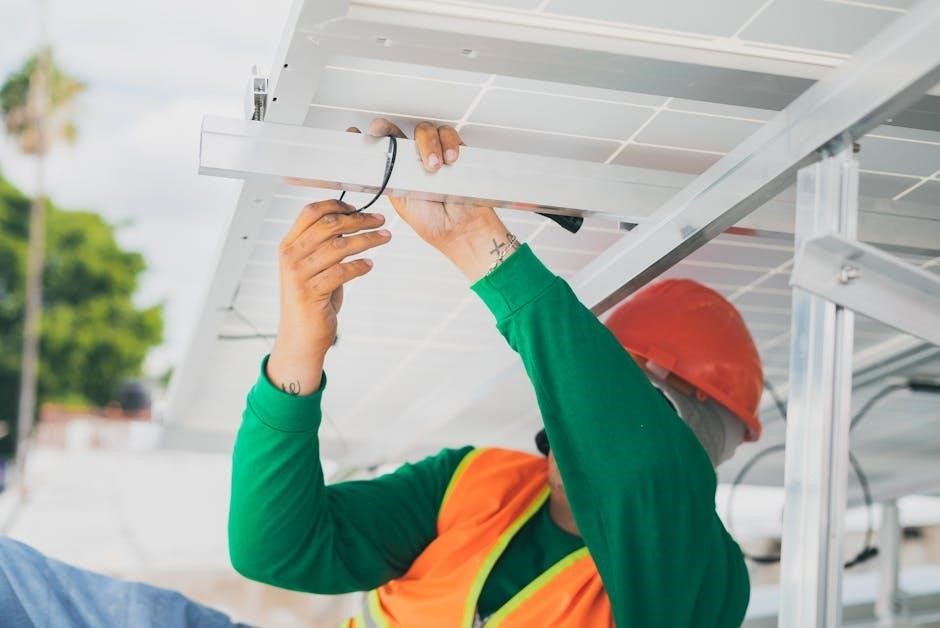
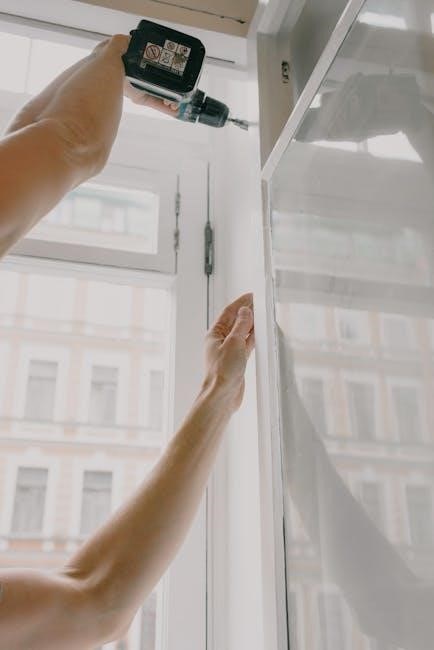
MOUNTING the Thermostat on the Wall
Mounting the Honeywell TH6220U2000 thermostat requires careful preparation. Ensure the wall surface is level and clean. Separate the cover plate from the mounting plate. Use the provided wall anchors and screws to secure the mounting plate to the wall. Drill pilot holes if necessary and insert the anchors. Align the thermostat with the mounting plate and gently press it into place. Tighten the screws firmly to ensure a secure fit. Double-check that the thermostat is level and plumb for proper installation. This ensures stability and accurate temperature readings. Follow the manual for precise mounting instructions.
Initial Configuration and Setup
After installation, power on the thermostat and follow the on-screen prompts. Set the time, date, and temperature units. Configure basic settings like heating/cooling preferences for initial use.
Setting Up the Thermostat for First Use
Power on the thermostat and follow the on-screen setup wizard. Set the time, date, and temperature units (Fahrenheit or Celsius). Select your system type (e.g., heat pump, gas furnace) and configure basic operating modes (heat, cool, or auto). Set temperature ranges for comfort and energy efficiency. Enable scheduling options to program daily temperature adjustments. Ensure all settings align with your HVAC system’s capabilities. Save your preferences to complete the initial setup. Refer to the manual for advanced customization options to optimize performance and energy savings. Proper setup ensures smooth operation and precise temperature control.
Configuring Scheduling and Temperature Settings
Open the thermostat menu and navigate to the scheduling section. Create a weekly schedule by setting temperature setpoints for morning, afternoon, evening, and night. Choose energy-saving modes or custom settings based on your preferences. Adjust the temperature range to maintain comfort and efficiency, ensuring it aligns with your HVAC system’s capabilities. Enable geofencing or smart recovery features for automatic adjustments. Save your configuration to apply the settings. Regularly review and update your schedule to optimize energy usage and comfort. Proper configuration ensures the thermostat operates efficiently and meets your specific needs. This step is crucial for maximizing performance and energy savings.

Advanced Settings and Customization
Access advanced settings via the installer setup menu. Adjust Function 12 to Manual or Auto. Set the Auto Changeover Differential from 0°F to 5°F for optimal performance.
Adjusting Installer Settings for Optimal Performance
To optimize the Honeywell TH6220U2000 thermostat, access the advanced installer settings. Navigate to Function 12 (System Setting) and set it to Manual or Auto. Adjust the Auto Changeover Differential between 0°F to 5°F to balance heating and cooling transitions. ensure proper system operation by configuring these settings according to your HVAC system requirements. Test the configurations to verify performance and make adjustments as needed. Refer to the manual for detailed instructions on accessing and modifying these settings for a seamless installation and efficient operation.
Understanding Auto Changeover Differential
The Auto Changeover Differential feature on the Honeywell TH6220U2000 thermostat allows smooth transitions between heating and cooling modes. This setting determines the temperature difference required to switch operating modes, ranging from 0°F to 5°F (0.0°C to 2.5°C). Unlike a deadband, this differential ensures seamless operation without unnecessary cycling; Proper configuration is essential for optimal performance. Adjustments can be made in the installer settings menu to balance comfort and energy efficiency. Refer to the manual for detailed steps to configure this feature effectively and tailor it to your HVAC system’s needs for reliable operation.
Troubleshooting Common Issues
Identify and resolve issues like display malfunctions or incorrect temperature readings. Refer to the manual for diagnostic steps and solutions to ensure proper thermostat operation.
Identifying and Resolving Installation Errors
Common installation errors include incorrect wiring, improper mounting, or system incompatibility. Always refer to the manual for diagnostic checks. Ensure wire connections match the thermostat’s terminal labels. Verify the mounting plate is level and securely fastened. If the display is unresponsive, check power supply and wiring integrity. Consult the troubleshooting guide for specific error codes and solutions. Failure to address these issues may lead to system malfunctions or safety hazards. Properly resolving installation errors ensures optimal performance and efficiency of your Honeywell TH6220U2000 thermostat.
Diagnosing and Fixing Post-Installation Problems
After installation, issues like unresponsive displays or incorrect temperature readings may occur. Check the power supply and wiring connections for integrity. Review error codes displayed on the thermostat for specific troubleshooting guidance. Ensure proper system configuration in the installer settings. If the thermostat fails to communicate with HVAC equipment, verify compatibility and wiring matchups. For persistent issues, consult the manual or contact Honeywell support. Regularly updating firmware and ensuring all connections are secure can prevent recurring problems, ensuring long-term reliability and efficiency of your TH6220U2000 thermostat.
Successful installation ensures optimal performance. Verify all connections, test functionality, and review settings. Regular maintenance will sustain efficiency and extend the thermostat’s lifespan effectively.
Final Checks and Verification
After completing the installation, perform a thorough verification to ensure all components function correctly. Check wiring connections for accuracy and security, and confirm the thermostat is properly mounted. Power up the system and test heating and cooling operations to verify smooth performance. Review all programmed settings, including schedules and temperature limits, to ensure they align with your preferences. If applicable, confirm synchronization with the Honeywell Home App for remote control. Finally, schedule a maintenance check to ensure long-term efficiency and reliability of your TH6220U2000 thermostat.
Maintaining the Thermostat for Long-Term Efficiency
Regular maintenance is crucial for ensuring the Honeywell TH6220U2000 thermostat operates efficiently and effectively. Clean the thermostat’s exterior and internal components periodically to prevent dust buildup, which can interfere with temperature sensing. Replace batteries as needed or check the wiring for any damage if it’s a hardwired system. Update the thermostat’s software to the latest version for optimal performance. Additionally, inspect the wiring connections and ensure they remain secure. Schedule annual professional HVAC system maintenance to complement thermostat performance and energy savings over time. Consistent upkeep ensures reliability and prolongs the lifespan of your device.