
Pointillism is a painting technique where tiny dots of color create detailed images․ Popularized by Georges Seurat, it relies on optical mixing to blend colors․ This method emphasizes precision and patience, allowing students to explore color theory and texture․ It introduces a unique way to represent reality through structured artistic expression․
Definition and Basic Concepts
Pointillism is a painting technique where small, distinct dots of color are applied in patterns to form an image․ This method, developed by Georges Seurat and Paul Signac, relies on optical mixing, where the viewer’s eye blends the dots into a cohesive picture․ Unlike traditional blending, the colors remain pure and vibrant, creating a sense of luminosity․ The process requires precision and patience, as thousands of dots are carefully placed to achieve the desired effect․ It challenges students to think about color theory, texture, and composition while exploring artistic expression through structured, repetitive mark-making․
Historical Background and Key Artists
Pointillism emerged in the late 19th century as a response to Impressionism, with Georges Seurat and Paul Signac as its pioneers․ Seurat’s iconic work, A Sunday Afternoon on the Island of La Grande Jatte, showcased the technique’s potential․ The movement emphasized scientific color theory, applying small dots of pure color to create vibrant, luminous effects․ Despite initial criticism, Pointillism gained recognition for its innovative approach․ Key artists like Henri-Edmond Cross and Maximilien Luce further developed the style, experimenting with its expressive possibilities․ This period marked a significant shift in artistic practice, blending technical precision with creative vision․
Materials and Supplies
Essential materials include canvas, acrylic or watercolor paints, small paintbrushes, Q-tips, and a color wheel․ Optional tools like dotting pens or toothpicks can add texture and precision․
Essential Art Materials
For a pointillism class, gather essential materials like canvas or watercolor paper, primary color paints, small paintbrushes, Q-tips, and a color wheel․ Use masking tape for precise dots․ Include toothpicks or dotting pens for detailed work․ Sticker dots or tape can aid younger students in creating uniform patterns․ Acrylic or watercolor paints are ideal, but tempera paints are suitable for quick sessions․ Ensure students have sketchbooks for practice and erasers for corrections․ Optional supplies like magnifying glasses or digital tools can enhance observation and understanding of optical mixing․ These materials foster creativity and technical skill development in pointillism art․
Tools and Equipment
Essential tools for a pointillism class include Q-tips, small paintbrushes, toothpicks, and dotting pens for creating precise dots․ Use magnifying glasses to observe details and digital tools to zoom in on images․ Provide rulers for measuring spacing and sketchbooks for practice․ Optional supplies like pipettes or styluses can add variety to dotting techniques․ Ensure students have erasers and sharp pencils for sketching outlines․ These tools help students achieve the desired texture and precision in their pointillism artworks, fostering creativity and technical skill development․ Proper equipment ensures a structured and engaging learning experience tailored to the technique’s demands․
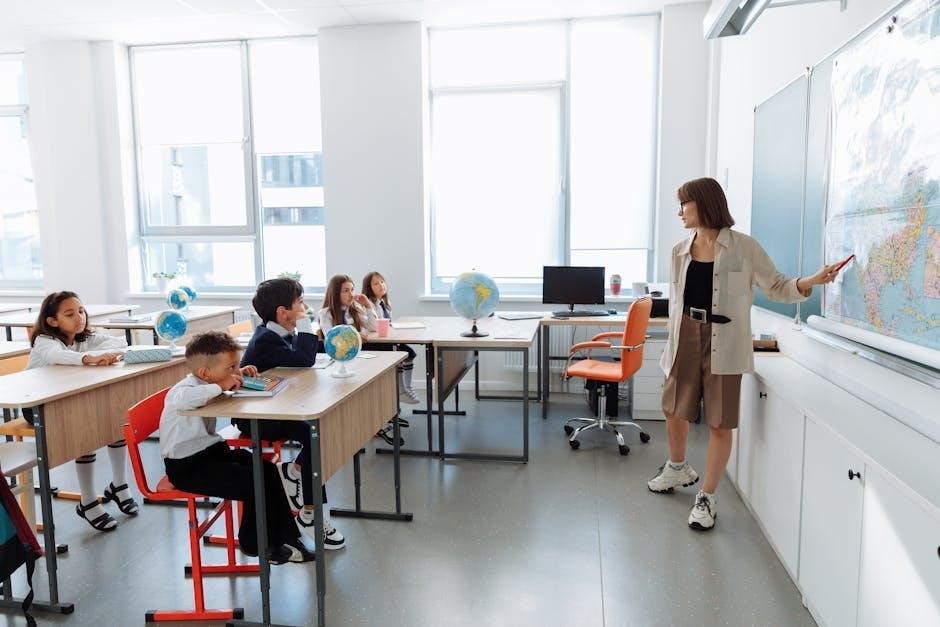
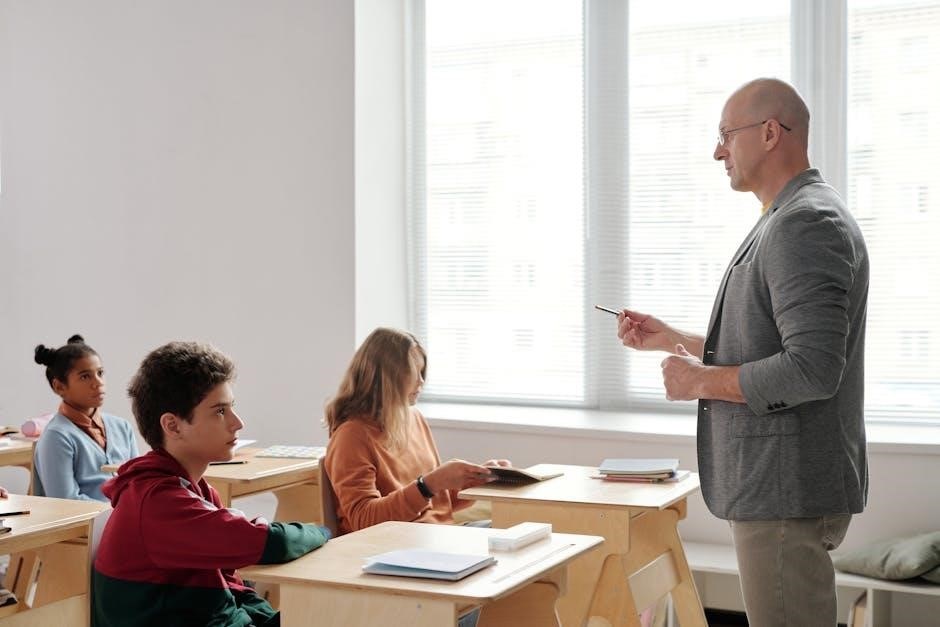
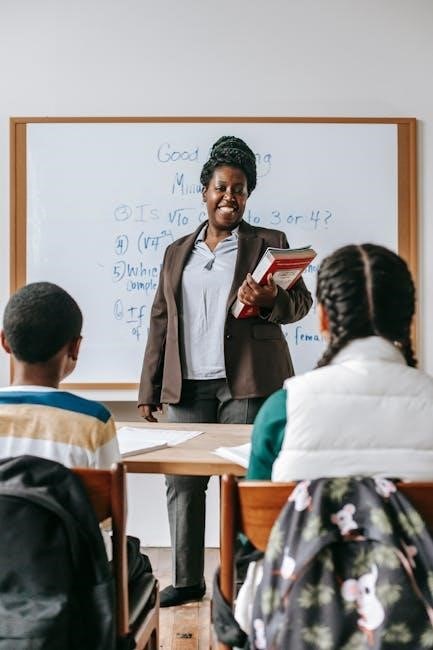
Lesson Plan Structure
A well-organized lesson plan introduces pointillism through demonstrations, guided practice, and hands-on activities․ It includes clear objectives, materials, and timelines to ensure engaging and effective learning experiences for students․
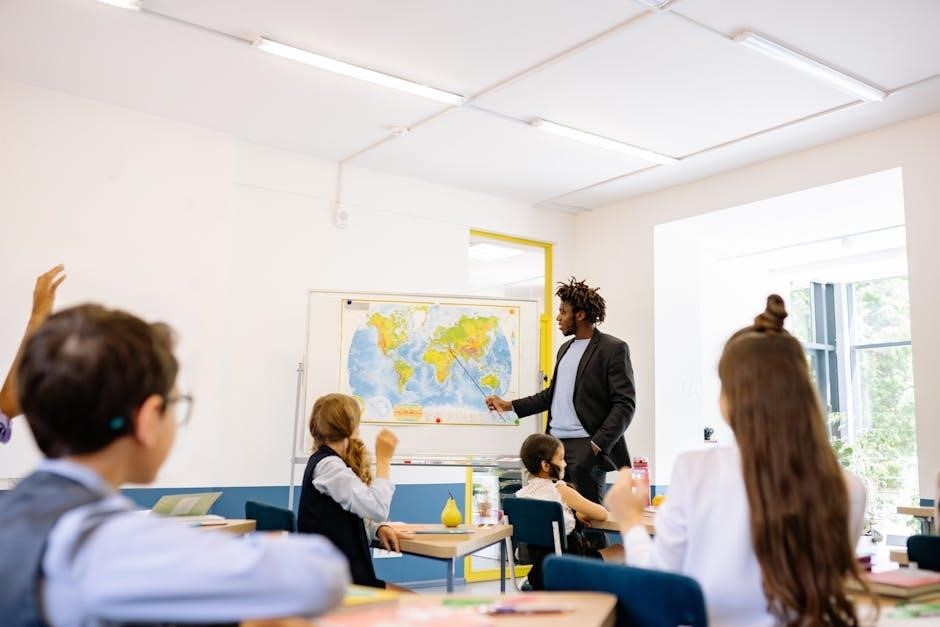
Begin by introducing Georges Seurat and the origins of pointillism, explaining how small dots of color create detailed images through optical mixing․ Discuss the scientific approach to color theory and how primary colors placed side by side produce secondary hues․ Show examples of Seurat’s work, such as A Sunday Afternoon on the Island of La Grande Jatte, to illustrate the technique․ Highlight the patience and precision required, as well as the role of texture and light․ Encourage students to explore how their perception of color changes when viewed from different distances, fostering a deeper understanding of this unique artistic method․
Demonstration and Guidance
Start by demonstrating pointillism techniques using Q-tips or small brushes to apply dots of color․ Show how to mix primary colors to create secondary hues and blend them optically․ Begin with simple exercises, like creating a color wheel or basic shapes, to help students understand the process․ Guide students in practicing dot placement, emphasizing spacing and layering to achieve texture and depth․ Encourage questions and provide one-on-one support as needed․ Highlight how patience and precision are key to mastering this method․ Ensure students observe how dots merge when viewed from a distance, reinforcing the optical mixing concept․
Hands-On Activity
Divide the class into small groups and distribute materials like Q-tips, paper, and primary-colored paints․ Instruct students to sketch a simple landscape or still life beforehand․ Demonstrate how to fill the drawing with small, evenly spaced dots, starting with primary colors․ Encourage students to experiment with color mixing by placing dots side by side․ As they work, circulate to offer guidance and answer questions․ After 20-30 minutes, have students step back to observe how their dots blend into cohesive images․ This activity reinforces the optical mixing concept and allows students to apply pointillism techniques creatively․
After the hands-on activity, gather the class for a reflective discussion․ Ask students to share their observations about how the dots created a larger image and discuss challenges they faced․ Highlight key concepts like optical mixing and color theory․ Encourage students to connect their experience to the works of Seurat and Signac․ End with a brief summary of pointillism’s significance in art history, emphasizing its innovative approach․ This wrap-up session reinforces learning and encourages critical thinking about the technique’s effectiveness and artistic impact․
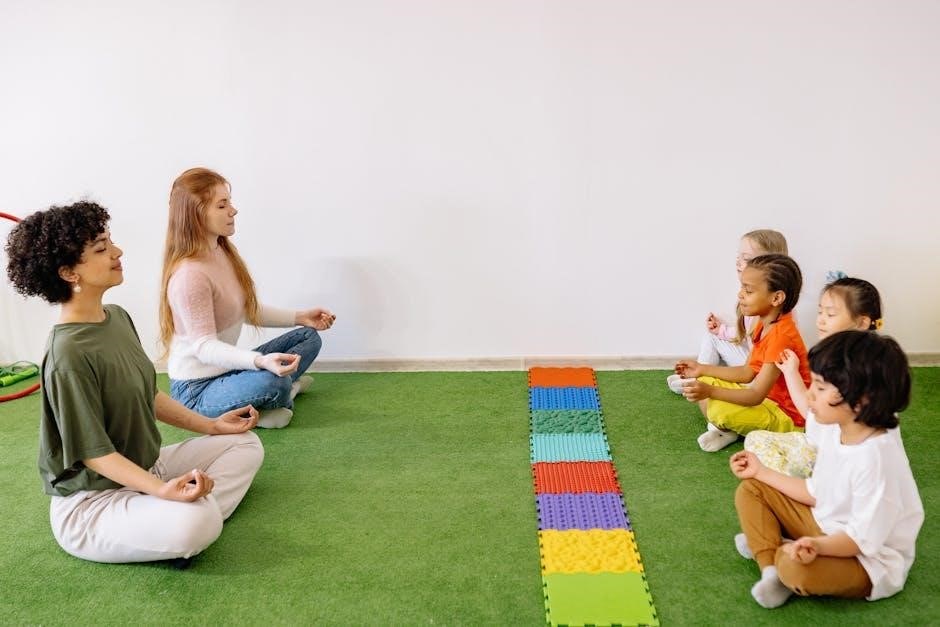
Classroom Activities
Classroom Activities include observation exercises, practical art creation, and group discussions․ Students analyze pointillist artworks, create their own pieces, and share insights, fostering engagement and understanding․
Observation Exercises
Observation exercises are designed to help students understand the fundamentals of pointillism․ Teachers instruct students to carefully examine artworks by Seurat and Signac, focusing on how small dots create detailed images․ Using magnifying glasses or digital zoom, students analyze how colors blend optically․ They discuss the contrast between up-close and afar views, exploring how perception changes․ Group discussions encourage students to share observations, fostering critical thinking and visual literacy․ These exercises lay the foundation for practical application, bridging theory with creativity․ By observing masterpieces, students gain insights into the technique and its artistic impact․ This step is crucial for understanding the method before creating their own pieces․
Practical Art Creation
Practical art creation is the hands-on phase where students apply pointillism techniques․ Teachers guide students in selecting materials like Q-tips, paints, or colored pencils․ Students begin by sketching a simple composition, then fill it with small dots, following color theory principles․ The process encourages patience and attention to detail․ As students work, teachers circulate to offer tips and demonstrate techniques․ Completed artworks are displayed, allowing students to see how their dots blend into cohesive images․ This step reinforces understanding and builds confidence in using pointillism effectively․ The activity typically lasts 30-40 minutes, depending on the complexity of the design․
Group Discussions
Group discussions are integral to fostering engagement and reflection during pointillism lessons․ Teachers facilitate conversations by asking students to share their observations about the technique and its effects․ Questions like, “How do the dots create a larger image?” or “What emotions do the colors evoke?” encourage critical thinking․ Students also discuss challenges, such as maintaining patience while applying dots, and successes, like achieving desired color blends․ These discussions help students connect their individual experiences to the broader artistic concepts․ Group dialogue enriches understanding and builds a collaborative learning environment, emphasizing the value of shared insights and perspectives․
Assessment and Feedback
Assessment involves evaluating student understanding, participation, and final artwork․ Feedback focuses on color mixing, technique, and creativity, encouraging improvement and reinforcing learning objectives effectively․
Evaluation of Student Understanding
Evaluation involves assessing students’ grasp of pointillism techniques and concepts․ Teachers observe participation, review artwork for color theory application, and use formative assessments to gauge progress․ Quizzes, class discussions, and project completion are key metrics․ Feedback is provided to guide improvement, ensuring students understand how dots create images and how colors mix optically․ This process helps identify strengths and areas needing additional support, fostering a comprehensive learning experience tailored to individual needs and artistic development․
Participation and Engagement
Encourage active participation by engaging students in hands-on activities, group discussions, and interactive exercises․ Use Q-tips, paint, and paper to create pointillist artworks, fostering creativity․ Monitor students’ involvement during projects, noting their willingness to experiment with techniques․ Encourage questions and shared observations to deepen understanding․ Recognize effort and progress, celebrating individual achievements․ Use visual aids and demonstrations to inspire enthusiasm; Assess participation through engagement levels, contributions to discussions, and openness to feedback․ This approach ensures students remain motivated and invested in mastering pointillism techniques․
Final Artwork Review
Conclude the lesson with a review of students’ final pointillist artworks․ Encourage each student to present their piece, explaining their creative process and challenges․ Use this opportunity to highlight successful use of color mixing and technique․ Provide constructive feedback, emphasizing strengths and areas for improvement․ Display the artworks in a classroom gallery for peer appreciation․ Discuss how each piece reflects understanding of pointillism and its historical context; This review fosters pride and reinforces learning, while also offering a platform for students to reflect on their artistic journey․

Additional Resources
Explore recommended lesson plans, online tutorials, and interactive activities for teaching pointillism․ Utilize resources like Ducksters, Sotheby’s, and WideWalls for detailed insights and inspiration․
- Pointillism Lesson Plans
- Online Tutorials and Videos
- Interactive Art Activities
Recommended Lesson Plans
Engage students with comprehensive lesson plans that introduce pointillism through interactive activities and structured learning․ Plans include detailed teacher guides, PowerPoint presentations, and hands-on projects suitable for various grade levels․ Ideal for both art specialists and general educators, these resources offer flexible implementation․ Many plans incorporate readily available materials, such as Q-tips and primary colors, to create authentic pointillist artworks․ Structured phases for appreciation, understanding, and application ensure a holistic learning experience․ Additional resources like word searches and research activities enhance student engagement and deepen understanding of this unique artistic technique․
Online Tutorials and Videos
Enhance your teaching with online tutorials and videos that demonstrate pointillism techniques and inspire creativity․ Platforms like YouTube and educational websites offer step-by-step guides for creating pointillist artworks․ Videos showcasing Georges Seurat’s iconic works, such as A Sunday Afternoon on the Island of La Grande Jatte, provide visual insights into the technique․ Additionally, tutorials on platforms like Teachers Pay Teachers and Ducksters offer interactive lessons and artist profiles; These resources are ideal for classroom use, allowing students to observe the process up close and understand optical mixing․ They also include tips for adapting the technique to various skill levels, making them valuable for both teachers and students․
Interactive Activities
Engage students with interactive activities that bring pointillism to life․ Use digital tools like painting software to create pixel art, simulating the pointillist effect․ Incorporate games where students match colors or complete optical illusions․ Hands-on projects, such as collaborative murals or individual dot paintings, foster teamwork and creativity․ Interactive whiteboard exercises can demonstrate how dots blend to form images․ These activities make learning dynamic and accessible, allowing students to explore the technique in innovative ways․ They also encourage experimentation and understanding of color theory and texture through practical application․