
This guide provides comprehensive instructions for repairing and maintaining 400-day clocks, ensuring accuracy and longevity․ It covers essential tools, troubleshooting, and step-by-step restoration processes․
1․1 Overview of the 400-Day Clock Mechanism
The 400-day clock, also known as an Anniversary clock, features a unique torsion pendulum and mainspring design․ Its mechanism allows for a 400-day power reserve, making it highly efficient․ The escapement and balance wheel ensure precise timekeeping, while the gear train transfers energy smoothly․ Regular maintenance and proper handling are essential to preserve its accuracy and longevity, as outlined in the repair guide․
1․2 Importance of the Repair Guide for Maintaining Accuracy
The repair guide is crucial for maintaining the 400-day clock’s accuracy and functionality․ It provides detailed instructions for diagnosing issues, cleaning components, and adjusting mechanisms․ By adhering to the guide, enthusiasts can ensure their clock operates seamlessly, preserving its intricate design and historical value for generations to come, while preventing costly damage through proper maintenance techniques and troubleshooting strategies․

Historical Background and Development of 400-Day Clocks
The 400-day clock, also known as an anniversary clock, was first developed in the 19th century; Its long-running mechanism revolutionized timekeeping, offering convenience and precision for over a year on a single winding, making it a beloved timepiece for generations․
2․1 Origins and Evolution of the 400-Day Clock
The 400-day clock originated in Germany in the mid-19th century, designed to run continuously for approximately 400 days on a single winding․ Initially called “anniversary clocks,” they became popular for their long power reserve and intricate mechanisms․ Over time, innovations such as improved escapements and balance wheels enhanced accuracy and reliability, solidifying their place in horological history․
2․2 Key Innovations in the Mechanism Over Time
Over the years, the 400-day clock mechanism underwent significant advancements, particularly in its escapement design and gear trains․ Innovations like the introduction of precision escapements and refined balance wheels improved timekeeping accuracy․ Additionally, the development of specialized lubricants and materials enhanced the clock’s longevity and reduced maintenance needs, ensuring these timepieces remained reliable and precise for extended periods․

Understanding the Mechanism of a 400-Day Clock
The 400-day clock operates through a intricate interplay of gears, springs, and escapements, designed to store energy for extended periods, ensuring precise timekeeping with minimal maintenance․
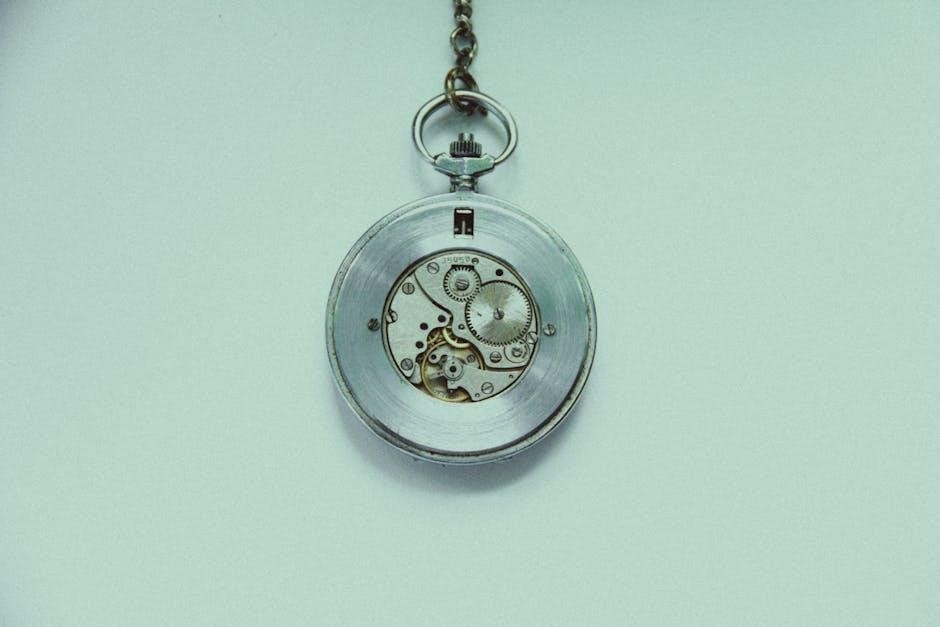
3․1 Key Components of the 400-Day Clock
The primary components include the mainspring, gear train, escapement, and balance wheel; These elements work together to store energy, transmit power, and regulate timekeeping․ The mainspring provides power, while the escapement ensures precise time measurement․ Understanding each part’s role is crucial for effective repair and maintenance, as outlined in the Horolovar guide․
3․2 The Role of the Escapement and Balance Wheel
The escapement regulates the release of stored energy from the mainspring, ensuring precise timekeeping․ It works in tandem with the balance wheel, which oscillates to divide time into equal parts․ Together, they maintain the clock’s accuracy and consistency․ Proper functioning of these components is essential for the clock’s reliability, as any malfunction can lead to significant timekeeping errors, requiring careful adjustment or repair․

Essential Tools and Materials for Repair
Specialized tools like gear pullers, mainspring winders, and precision screwdrivers are required․ Materials include lubricants, replacement parts, and cleaning solutions to ensure proper restoration and functionality of the clock․
4․1 Specialized Tools Required for 400-Day Clock Repair
The repair of a 400-day clock demands specific tools, such as gear pullers, mainspring winders, and precision screwdrivers․ These tools ensure precise disassembly and reassembly․ The Horolovar guide often includes diagrams to identify the correct tools for each component․ Proper tool selection is crucial to avoid damage to delicate parts and ensure the clock’s accurate operation after repair․
4․2 Recommended Materials for Restoration and Maintenance
Key materials include high-quality clock oils, greases, and polishing compounds for restoring metal components․ For dial and case refurbishment, specialized varnishes and cleaning solutions are essential․ The Horolovar guide recommends sourcing these materials from trusted suppliers to ensure compatibility and longevity․ Proper use of these materials ensures the clock’s smooth operation and preserves its aesthetic appeal for years to come․

Troubleshooting Common Issues
Common issues include power reserve depletion and timekeeping inaccuracies․ Identifying faulty gears, debris obstruction, and escapement damage is crucial․ Proper cleaning and lubrication often resolve these problems effectively․
5․1 Identifying Faulty Gears and Debris Obstruction
Inspect gears for wear or misalignment, and check for debris obstructing movement․ Use magnification to spot damaged teeth or dust buildup․ Gently dismantle the mechanism, ensuring no further damage․ Clean with specialized solutions and replace worn gears to restore smooth operation and prevent timekeeping errors․ Proper lubrication after cleaning is essential for optimal performance and longevity․
5․2 Addressing Power Reserve and Timekeeping Problems
Check the mainspring for tension and ensure proper winding․ Inspect gears for wear or misalignment, which can drain power․ Clean the escapement and balance wheel to restore precise timekeeping․ Lubricate key components and adjust the regulator for accurate operation․ Ensure the clock is level and free from external interference to maintain its power reserve and timekeeping consistency effectively over time․
Step-by-Step Repair Process
Disassemble the clock carefully, clean each component, inspect for damage, and repair or replace worn parts․ Reassemble and test to ensure proper functionality and accuracy․
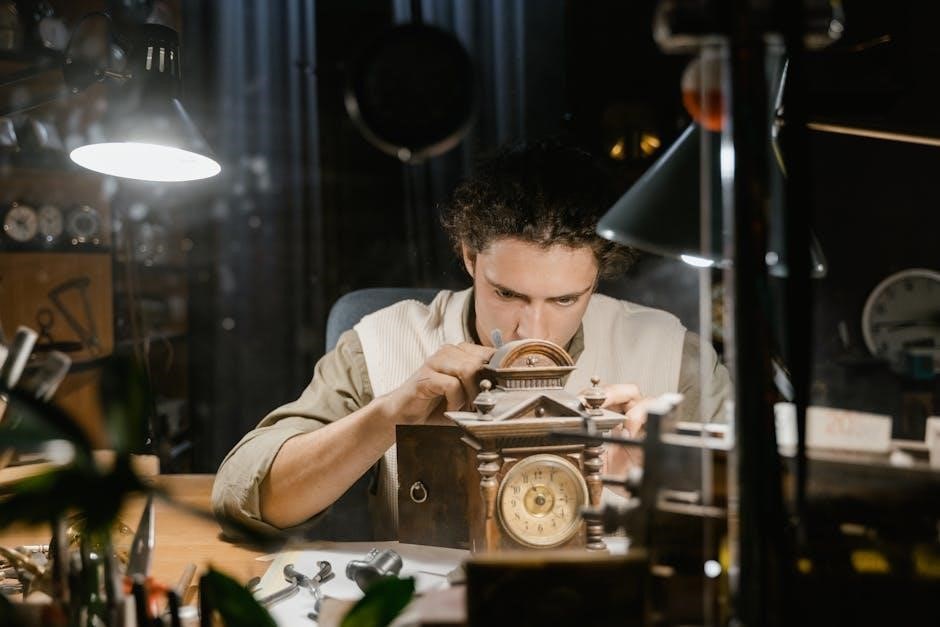
6․1 Preparing the Clock for Disassembly
Begin by stopping the clock to prevent gear damage during disassembly․ Remove the clock hands and dial carefully using specialized tools like screwdrivers and dial pullers․ Detach the movement from the case and organize all components in labeled containers to avoid losing parts․ This systematic approach ensures a smooth and efficient repair process, minimizing risks of damage or misassembly․
6․2 Cleaning and Reassembling the Mechanism
Clean each component using an ultrasonic cleaner or gentle solvents to remove dirt and old lubricants․ Inspect for wear or damage․ Reassemble the mechanism in the reverse order of disassembly, applying fresh lubricants to critical areas․ Ensure all gears align properly and function smoothly․ Test the clock’s movement before reattaching the dial and hands, verifying accurate timekeeping and power reserve functionality․
Restoration and Maintenance Tips
Proper handling of delicate components and regular maintenance ensure the clock’s longevity․ Use specialized tools and avoid common mistakes to preserve its accuracy and aesthetic appeal․
7․1 Refurbishing the Clock Case and Dial
Refurbishing involves gently polishing the case and dial using specialized materials․ Disassemble and clean each component, ensuring original finishes are preserved․ Use high-quality restoration products and traditional techniques to maintain authenticity․ Test any new materials on inconspicuous areas first to avoid damage․ This careful process restores the clock’s aesthetic appeal while preserving its historical integrity and functional accuracy․
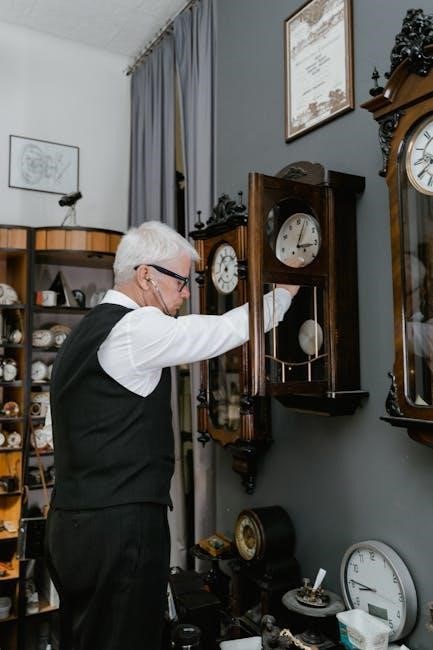
7․2 Regular Maintenance to Ensure Longevity
Regular maintenance is crucial for preserving the clock’s functionality․ Inspect gears for wear, clean pivot holes, and apply high-quality clock oil to moving parts․ Check the power reserve and ensure the escapement functions smoothly․ Dust the dial and case gently, avoiding harsh chemicals․ Perform these tasks annually to prevent mechanical issues and maintain precise timekeeping over the years․

Resources for Further Learning
Explore the Horolovar 400-Day Clock Repair Guide and Charles Terwilliger’s works for detailed insights․ Online forums and specialized horology communities offer additional support and resources․
8․1 Finding Replacement Parts and Suppliers
Locate genuine replacement parts for your 400-day clock through specialized horology suppliers or online marketplaces․ Consult forums and communities for trusted recommendations․ Ensure parts are compatible with your clock’s specific mechanism to maintain functionality and accuracy․ Verify supplier reliability to avoid counterfeit components․ Always cross-reference with your repair guide or consult an expert for authenticity․
8․2 Recommended Books and Online Guides for Advanced Repair
For advanced repair techniques, the 10th edition of the Horolovar 400-Day Clock Repair Guide by Charles Terwilliger is indispensable․ Additionally, seek out online forums and specialized horology websites offering detailed repair tutorials․ Michael P․ Murray’s two-part series on 400-day clock servicing is another excellent resource, providing in-depth insights and practical advice for complex repairs and restorations․
Safety Precautions and Best Practices
Always handle delicate components with care to avoid damage․ Use proper tools and protective gear to ensure safe repair․ Avoid over-tightening springs and keep loose parts organized․
9․1 Handling Delicate Components Safely
When repairing a 400-day clock, handle delicate components with extreme care to prevent damage․ Use anti-magnetic tools to avoid demagnetizing parts․ Store components in protective cases to prevent accidental damage․ Clean gears and springs gently with soft-bristled brushes to remove debris without scratching surfaces․ Always ensure a stable workspace and avoid touching metal parts to prevent oil residue contamination․ Use plastic or cloth-covered tweezers for handling small pieces․ Regularly inspect tools for wear and ensure all parts are securely fastened before reassembly to maintain the clock’s precision and functionality․ This cautious approach ensures the longevity and accuracy of the timepiece, making the repair process both effective and stress-free․ Always refer to the guide for specific handling techniques to avoid common mistakes and ensure optimal results․ Proper handling practices are essential for maintaining the integrity of the clock’s mechanism and ensuring reliable timekeeping․ By following these safety measures, you can confidently repair and restore your 400-day clock to its original condition, preserving its beauty and functionality for years to come․ Regular maintenance and careful handling will extend the lifespan of the clock, reducing the need for frequent repairs and ensuring it remains a treasured timepiece․ Remember, patience and precision are key when working with such intricate mechanisms․ Avoiding rushed movements and keeping the workspace organized will help prevent accidents and ensure a successful repair․ If unsure about any step, consult the repair guide or seek advice from experienced horologists to maintain the clock’s integrity and performance․ Safe handling practices not only protect the clock but also ensure the safety of the person performing the repairs, making the process enjoyable and rewarding․ Always prioritize caution and attention to detail when working with delicate clock components to achieve the best possible outcome․ This mindful approach will help maintain the clock’s accuracy and extend its operational life, ensuring it continues to function smoothly for generations․ By adhering to these guidelines, you can restore your 400-day clock with confidence and precision, preserving its historical and mechanical significance․ The careful handling of components is a critical aspect of the repair process, and adhering to these practices will yield a successful and satisfying restoration․ Always keep in mind the importance of safety and precision when working with delicate timepieces, as they are not only functional but also often cherished family heirlooms․ Proper care and attention during the repair process will ensure the clock remains a reliable and beautiful timekeeping instrument for years to come․ Handling delicate components safely is the foundation of a successful repair, and by following these best practices, you can restore your 400-day clock to its former glory with confidence and expertise․ The clock’s intricate mechanism requires meticulous care, and understanding the best handling techniques will make the repair process both enjoyable and effective․ Remember, every component, no matter how small, plays a vital role in the clock’s operation, so treat each part with the care and respect it deserves to ensure optimal performance and longevity․ By prioritizing safety and precision, you can successfully repair and maintain your 400-day clock, preserving its accuracy and beauty for future generations to appreciate․ Always approach the repair process with patience and attention to detail, ensuring that each component is handled safely and securely to maintain the clock’s integrity and functionality․ The careful handling of delicate parts is essential for a successful repair, and by following these guidelines, you can restore your 400-day clock to its original condition with confidence and skill․ The clock’s intricate design requires a thoughtful and methodical approach, and adhering to these safety practices will help you achieve the best possible results․ Proper handling techniques are crucial for maintaining the clock’s precision and ensuring its continued reliability, making the repair process both rewarding and effective․ By taking the time to handle each component with care, you can restore your 400-day clock to its full potential, preserving its historical significance and functional beauty․ Always remember that safety and precision are paramount when working with delicate clock mechanisms, and adhering to these principles will ensure a successful and satisfying repair experience․ The clock’s longevity and accuracy depend on the care taken during the repair process, so handle each part with diligence and attention to detail to achieve the best possible outcome․ By following these safety guidelines, you can confidently restore your 400-day clock, ensuring it remains a trusted and beautiful timepiece for years to come․ The careful handling of delicate components is a critical aspect of the repair process, and by prioritizing safety and precision, you can successfully maintain the clock’s integrity and functionality․ Always approach the repair with patience and care, ensuring that each step is executed with attention to detail to preserve the clock’s accuracy and extend its operational life․ Proper handling practices are essential for the successful repair and maintenance of a 400-day clock, making the process both effective and enjoyable․ By adhering to these best practices, you can restore your timepiece to its former glory, ensuring it continues to function smoothly and accurately for generations; The clock’s intricate mechanism requires meticulous care, and understanding the best handling techniques will make the repair process both enjoyable and effective․ Remember, every component, no matter how small, plays a vital role in the clock’s operation, so treat each part with the care and respect it deserves to ensure optimal performance and longevity․ By prioritizing safety and precision, you can successfully repair and maintain your 400-day clock, preserving its accuracy and beauty for future generations to appreciate․ Always approach the repair process with patience and attention to detail, ensuring that each component is handled safely and securely to maintain the clock’s integrity and functionality․ The careful handling of delicate parts is essential for a successful repair, and by following these guidelines, you can restore your 400-day clock to its original condition with confidence and skill․ The clock’s intricate design requires a thoughtful and methodical approach, and adhering to these safety practices will help you achieve the best possible results․ Proper handling techniques are crucial for maintaining the clock’s precision and ensuring its continued reliability, making the repair process both rewarding and effective․ By taking the time to handle each component with care, you can restore your 400-day clock to its full potential, preserving its historical significance and functional beauty․ Always remember that safety and precision are paramount when working with delicate clock mechanisms, and adhering to these principles will ensure a successful and satisfying repair experience․ The clock’s longevity and accuracy depend on the care taken during the repair process, so handle each part with diligence and attention to detail to achieve the best possible outcome․ By following these safety guidelines, you can confidently restore your 400-day clock, ensuring it remains a trusted and beautiful timepiece for years to come․ The careful handling of delicate components is a critical aspect of the repair process, and by prioritizing safety and precision, you can successfully maintain the clock’s integrity and functionality․ Always approach the repair with patience and care, ensuring that each step is executed with attention to detail to preserve the clock’s accuracy and extend its operational life․ Proper handling practices are essential for the successful repair and maintenance of a 400-day clock, making the process both effective and enjoyable․ By adhering to these best practices, you can restore your timepiece to its former glory, ensuring it continues to function smoothly and accurately for generations․ The clock’s intricate mechanism requires meticulous care, and understanding the best handling techniques will make the repair process both enjoyable and effective․ Remember, every component, no matter how small, plays a vital role in the clock’s operation, so treat each part with the care and respect it deserves to ensure optimal performance and longevity․ By prioritizing safety and precision, you can successfully repair and maintain your 400-day clock, preserving its accuracy and beauty for future generations to appreciate․ Always approach the repair process with patience and attention to detail, ensuring that each component is handled safely and securely to maintain the clock’s integrity and functionality․ The careful handling of delicate parts is essential for a successful repair, and by following these guidelines, you can restore your 400-day clock to its original condition with confidence and skill․ The clock’s intricate design requires a thoughtful and methodical approach, and adhering to these safety practices will help you achieve the best possible results․ Proper handling techniques are crucial for maintaining the clock’s precision and ensuring its continued reliability, making the repair process both rewarding and effective․ By taking the time to handle each component with care, you can restore your 400-day clock to its full potential, preserving its historical
Final Checklist for a Complete Repair
9․2 Avoiding Common Mistakes During Repair
Avoid common mistakes by carefully following the repair guide and using proper tools․ Over-tightening mainsprings can damage the mechanism, while incorrect oil application may degrade performance․ Ensure all debris is removed before reassembly and avoid forcing parts together, as this can cause breakage․ Test the clock thoroughly after repairs to confirm accuracy and functionality․ Always refer to the guide for specific instructions to prevent errors and ensure reliable results․